Monday, November 29, 2010

Utah Diva's Color challenge


I love this dress, it reminds me when my daughter was little and wore these types of dresses. The colors are so much fun, I can't wait to try them out.


Mojo Monday Sketch


Here is the Mojo Monday's sketch for today...Monday! Enjoy!


Mini Lunch Sack Goodie Bag


Look at the darling goodie bag my friends Cindy and Jill made me.Inside it has a packet of hot chocolate and my fave Ghirardelli peppermint bark and peppermint candies.Thank you Cindy and Jill I love it!


Sunday, November 28, 2010

Christmas Stamp a Stack


On Dec.4 at 10:00 I'll be having my SAS.These are the cards we will be making. Using the Tags Til Christmas set, the Holly Jolly DSP and Candy Cane Christmas.
Thanks,

Wednesday, November 24, 2010

Cyber Monday Giveaway

Starting Monday Nov. 29 at midnight through midnight of Dec. 12 I will have a drawing for anyone who spends $50.00 on-line will get one drawing into the pot for a My Digital Studio or blog candy if you already own MDS. So, if you spend $100.00 you get two chances toward the MDS or blog candy.More changes with the more you buy.
Please shop from my Stampin' Up! web site. See the "Shop 24/7 on-line" link above in the navigation bar, or go to: Stetler Arts
Just a reminder that the Amazing SU Deal ends Nov. 30th, so if you want to get over $300.00 in SU products for just $87.50 let me know.Or use my code:stetler09 to join on my SU web site.
I'm willing to buy back the business supplies if you are wanting to buy the kit for your own use.
Happy Thanksgiving!


Tuesday, November 23, 2010

Instructions for the Goodie Card


As promised I wrote some instructions for the Hot Chocolate Goodie card I made the other day.


Hot Chocolate Goodie card
Word Play clear/120651
Tags Til Christmas/121169
Candy Cane Christmas DSP/120809
1 ¾ circle punch/119850
2 3/8 circle punch/118874
Scallop Circle punch/118874
Scallop Envelope Die/113462
Real Red CS/102482 ribbon/117286 ink/ 103133 marker/100052
Whisper White CS/100730
Blushing Bride CS/ 119796
Baja Breeze CS/ 111352 ink/ 111833 marker/120965
Northern Frost Die/120901
Dazzling Diamonds Glitter/102023

8 ½ X 8 ½ inch Baja Breeze Card base
Score at 3 ¾ and at 4 ¾ Fold on all the score lines. This gives you an inch for the test tube.
In the center of the middle fold lines approx. 4 inches up from the bottom, make a cut horizontal and make another cut at 4 ¾ from the top. This will give you the band to hold your test tube. You can then push the band inside the card.
Cut 22 inches of ribbon and wrap around the front and back. I put a section of sticky strip on the back to hold it in place. I positioned the ribbon so it would cover part of the test tube opening.
Cut DSP 3 ½ X 8 ¼ then apply to the front over the ribbon, and inside panels .
Cut out 1 of the scallop envelope dies in Baja Breeze and the other in DSP. Cut off the scallop edge of both the DSP and Baja Breeze envelops.
Fold the envelopes so the flaps are toward the card base. Adhere to the base with Sticky Strip.
Adhere the scallop flaps that you cut off to the opposite envelope. Such as, the Baja Breeze flap to the DSP envelope.
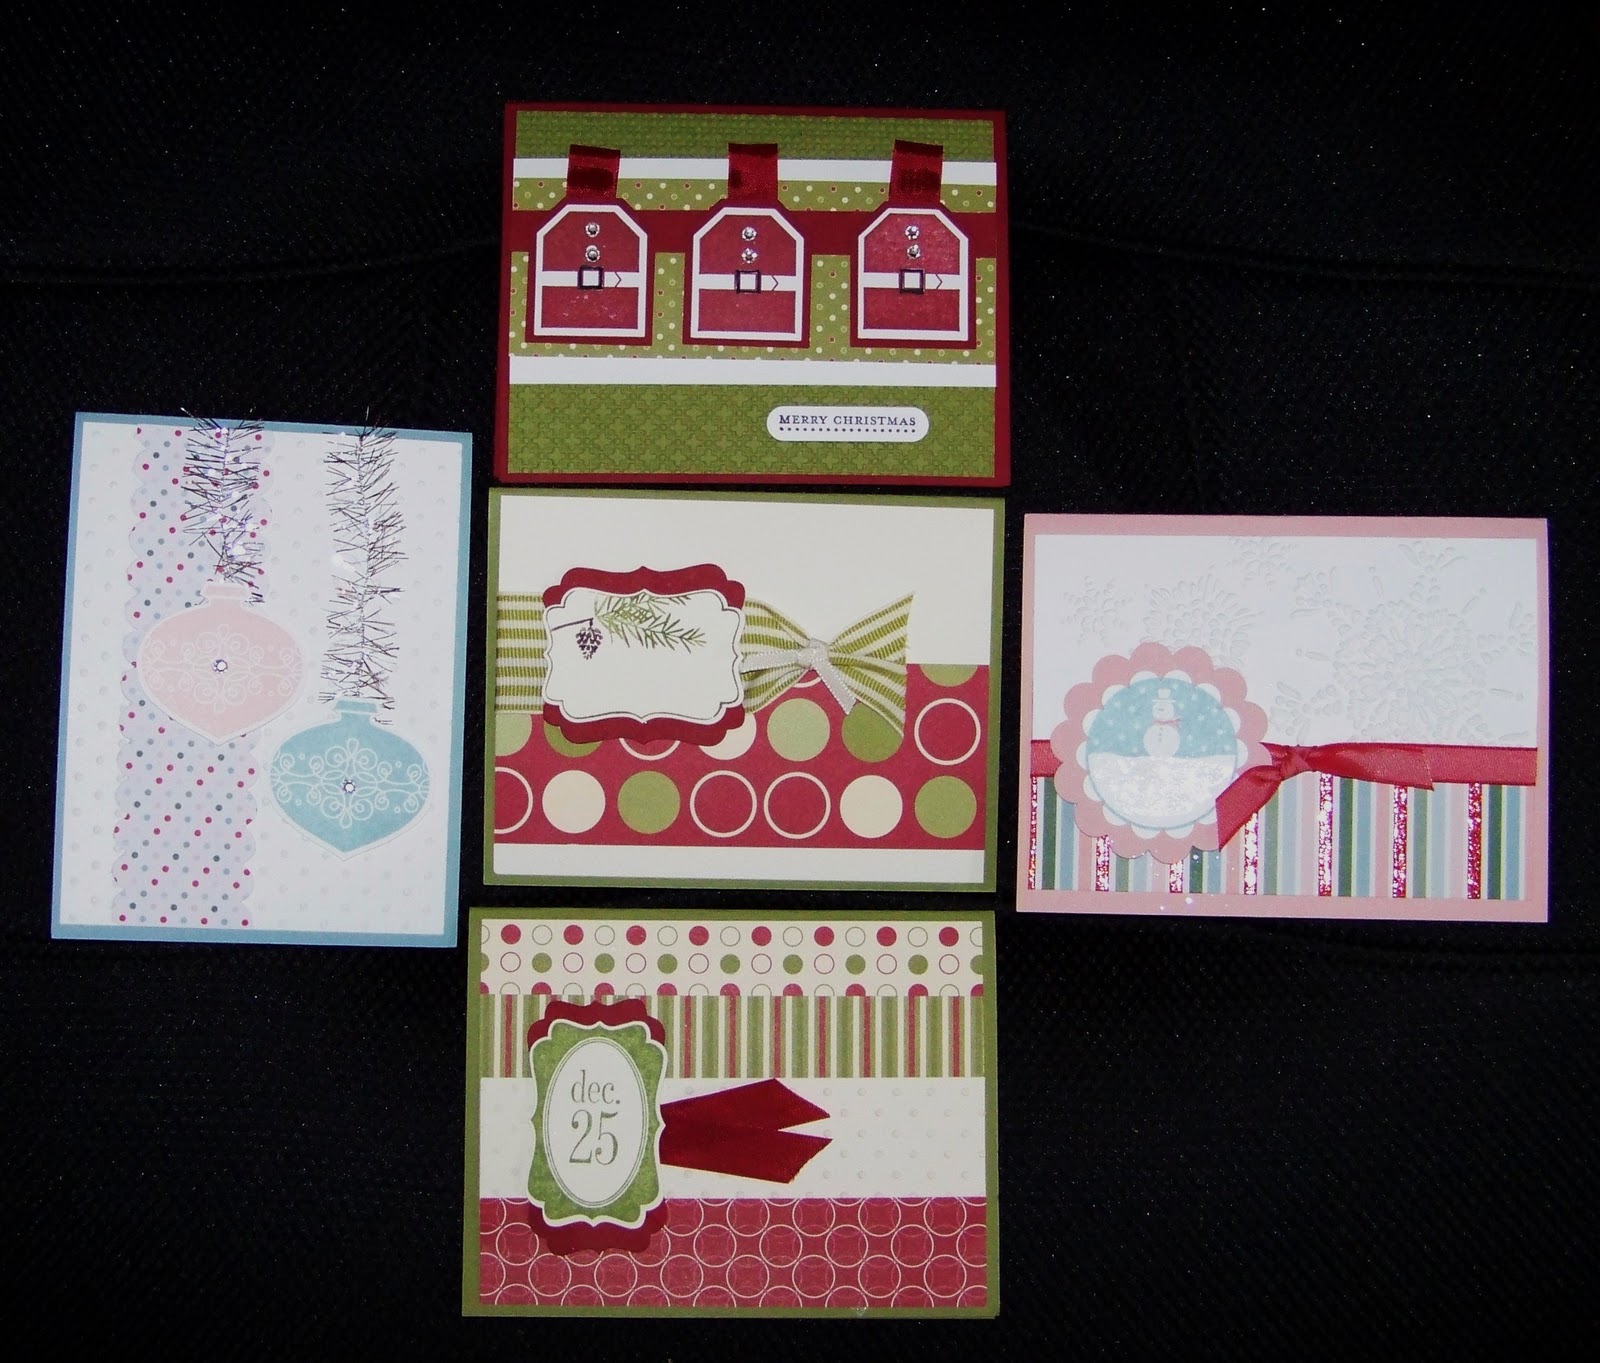
Stamp the inside snowman image in Baja Breeze on Whisper White and punch it out.
Punch out two Real Red scallop circles.
Using the Baja Breeze Marker and the Real Red maker color in your sentiment for the front, then punch it out.
Using Dimensionals apply each stamped image to the front and the inside.
Die cut the Northern Frost Snowflakes in Whisper White.
Adhere snowflakes to the front of the card and on the scallop envelopes.
Use two way glue and apply to the ornament in the sentiment and the snowflakes. Then apply glitter to all areas that you just applied glue.
Fill the test tube with mini marshmallows. I handpicked mine so I got the smaller sizes.
Fold the Hot Chocolate packet so the edges are folded inside so it fits in the envelope.
I added a Ghiradelli Peppermint Bark Square in the upper envelope.
Tie your Goodie card close and you have a cute little giftie for someone.

Quilt Top


This is my very first Flying Geese quilt top. I've made a few other quilt patterns but this is my first Flying Geese. I have one more to finish and then get quilted, as long as my hands hold out.


Monday, November 22, 2010

Mojo Monday

Hey! I remembered to get this up today...yeah me. I had my eyes dilated today and it takes me a while until I can see again.


Sale!

Click above on my Navigation Bar under "Specials"


Sunday, November 21, 2010

Watch For Tomorrows Half Off Sale!

Tomorrow,You will be able to order My Digital Studio and fabric for half price!! This is for on-line orders only.I will post a list of what else will be on sale tomorrow.Free Shipping on orders $150.00 or more PLUS hostess benefits.Check back tomorrow.
Shop on-line here: Stetler Arts

Friday, November 19, 2010

Comfort and Joy goodie card


This really a prototype as I'd like to make it better, but I think I'm on the right tract that I want to be on...we can all hope right?


Thursday, November 18, 2010

Nov. Kits


Here is the Nov. kit. it has 12- 6X6 Deck the Halls DSP, 6 coordinating cardstock sheets, Seam binding in Very Vanilla, Cherry Cobbler, Always Artichoke, and Tinsel Trim, Waffle Paper in gold and silver, Deck the Halls buttons, glitter brads,and a jumbo eyelet.
This kits sells for $14.99.And you can purchase one on the right sidebar. Those in town should call or email me to buy one. Samples cards made from this kit should be available soon. I will email them to you ASAP.
Thanks,

Advent Calendar


I made this from a post by the stamp doctor. It is made in a mini muffin pan $4.00 at "W"
I used Holly Jolly DSP,Scallop circle and a circle punch. I printed the numbers from the computer. I have one peanut butter cup in each muffin hole. The Top circle is taped to the top of the peanut butter cup with a thick strong magnet on the candy bottom so it will stick to the muffin pan, it is a nice gift for someone and they can use the muffin tin later. I finished it off with a pretty bow taped to the top.
Thanks for looking,

Wednesday, November 17, 2010

Utah Diva International 109


The UDI card sketch is below a few posts. Here is my card for the color combo of Baja Breeze, Not Quite Navy, Soft Suede and Very Vanilla.
I used the Charming stamp set #116519 I sponged Baja Breeze ink on the Crochet Trim just so it will show up a little more.
Thanks for looking,

Deck the Halls Step Card


This is one of the projects from my 12 weeks of Christmas newsletters. If you are not signed up, why not? It is free and all you have to do is sign up with your email in the upper left sidebar.

First Snow and Pumpkin Roll

We are getting our first snow in Rapid City and that always makes me feel all Holiday-ish.This is a recipe that Phyllis brought to club and it is to die for! Happy Birthday Phyllis!

LIBBY'S® PUMPKIN ROLL
Printed from COOKS.COM

--------------------------------------------------------------------------------


Dazzle family and friends with Libby's® Pumpkin Roll; moist and creamy, with a tantalizing aroma and beautiful presentation.

CAKE:

1/4 cup powdered sugar (to sprinkle on towel)
3/4 cup all-purpose flour
1/2 teaspoon baking powder
1/2 teaspoon baking soda
1/2 teaspoon ground cinnamon
1/2 teaspoon ground cloves
1/4 teaspoon salt
3 large eggs
1 cup granulated sugar
2/3 cup LIBBY'S® 100% Pure Pumpkin
1 cup walnuts, chopped (optional)

PREHEAT oven to 375°F. Grease 15 x 10-inch jelly-roll pan; line with wax paper. Grease and flour paper. Sprinkle a thin, cotton kitchen towel with powdered sugar.
COMBINE flour, baking powder, baking soda, cinnamon, cloves and salt in small bowl. Beat eggs and granulated sugar in large mixer bowl until thick. Beat in pumpkin. Stir in flour mixture. Spread evenly into prepared pan. Sprinkle with nuts.

BAKE for 13 to 15 minutes or until top of cake springs back when touched. (If using a dark-colored pan, begin checking for doneness at 11 minutes.) Immediately loosen and turn cake onto prepared towel. Carefully peel off paper. Roll up cake and towel together, starting with narrow end. Cool on wire rack.


FILLING:

1 pkg. (8 oz.) cream cheese, at room temperature
1 cup powdered sugar, sifted
6 tablespoons butter, softened
1 teaspoon vanilla extract
Powdered sugar (optional for decoration)

BEAT cream cheese, 1 cup powdered sugar, butter and vanilla extract in small mixer bowl until smooth. Carefully unroll cake. Spread cream cheese mixture over cake. Reroll cake. Wrap in plastic wrap and refrigerate at least one hour. Sprinkle with powdered sugar before serving, if desired.
Cooks Tip: Be sure to put enough powdered sugar on the towel when rolling up the cake so it will not stick.

Estimated Times: Preparation - 45 minutes; Cooking - 13 minutes; Cooling Time - 1 hour refrigerating.

Yields 10.


Tuesday, November 16, 2010

Santa for Ronald McDonald House


Late Night Stampers head honcho;Sherrill Graff asked for stampers to make cards to send to the RMH in Las Vegas, so here is my card, I made a few all the same. Not my design but I thought you might like it. He looks jolly doesn't he?
Thanks for looking,


Owl book markers


Here is the other way I used the owl note books I showed yesterday. I connected them to a jumbo paper clip to have post it notes handy to mark the pages of my books or magazines.


Monday, November 15, 2010

Owl Post it Notes


I got this idea from Becky Roberts, who is one of what I call the" Masters" of the SU world.Tomorrow I'll show you what else I did with these cute note holders.
I made these for my club members,I put a small calendar inside along with the note pad.
Thanks for looking,

Mojo Monday Sketch


Check out today's Mojo Monday's Sketch...cool


Utah Diva's International Sketch


Check out the UDI sketch.I'll work on it tomorrow, I had a LONG day.

Saturday, November 13, 2010

Cards from Club


Here are the projects we did at club today, and as usuual we had a lot of fun.
I will do a club in the mail for those who want to join our club but live out of town.We did a metal hinged CD case calendar, postcard and a Fall card. I bought the calendars and postcard backs on-line.
Just email me for more info:sarah@stetlerarts.com

Thursday, November 11, 2010

Wow what a deal!!


What do you call it when you get over $310 in Stampin' Up! crafting & stamping business supplies for only $87.50? You call it amazing!!

From November 15-30, you can purchase either the Standard or Digital + Starter Kit at 50 percent off the regular price..... plus free shipping!

With any new recruit I will give them $25.00 in free SU product.
Start your own business or join for the discount, this is an unheard of value.
Also, if you know someone who would like to do this, and you send me a name and they sign up with me, I'll give you $20.00 in Free product! This applies to ANYONE in the USA, to join or refer...you don't have to live near me. Click on my SU web site>join> use my code:stetler09
Be sure to email me any referrals: sarah@stetlerarts.com
Pass it on.
Thanks!

Happy Veterans Day

I want to thank all our service personnel and veterans for their service. I have had relatives fight in every war since the Revolution and I get all choked up when I think of all they have done for our freedom.
A Big Thank You!

Candy Holder


I made this from a tutorial I bought from Becky Roberts. Don't you think it is cute?The candy is going to be eaten righht after lunch! I used Old Olive CS, Cherry Cobbler and Holly Jolly DSP.